Thursday, January 8, 2015

Scones with Honey Butter


I learned this scone recipe from a neighbor/church leader, Diane, when I was a young teenager. She's an amazing cook and these scones have always been a favorite of mine! These are not a low fat treat, that's for sure, but they are extremely delicious when you feel like indulging.

Diane's Scones (half recipe) -

1 package yeast (2 1/4 teaspoons)
1/8 cup warm water
2 cups buttermilk (warm)
1 Tablespoon sugar
1 egg
1 Tablespoon oil
3/4 teaspoon salt
1/2 Tablespoon baking powder
1/4 teaspoon baking soda
4 cups flour

*This is the half size recipe. It will make around 2 dozen scones. I used this recipe for the tutorial.

 Diane's Scones (full size) -

2 packages yeast (2 1/4 teaspoons each pkg.)
1/4 cup warm water
1 quart of buttermilk (warm)
2 Tablespoons sugar
2 eggs
2 Tablespoons oil
1 1/2 teaspoons salt
1 Tablespoon baking powder
1/2 teaspoon salt
8 cups flour

*This recipe will make around 4 dozen scones. Use it if you're feeding a large crowd.

Here's the video tutorial:
And here are the step by step instructions:
 Place 1/8 cup warm water in a measuring cup.
 Add 2 1/4 tsp. yeast.
 I like to put a little sugar in with the yeast. Mix it up and let it rise for 10-15 minutes.
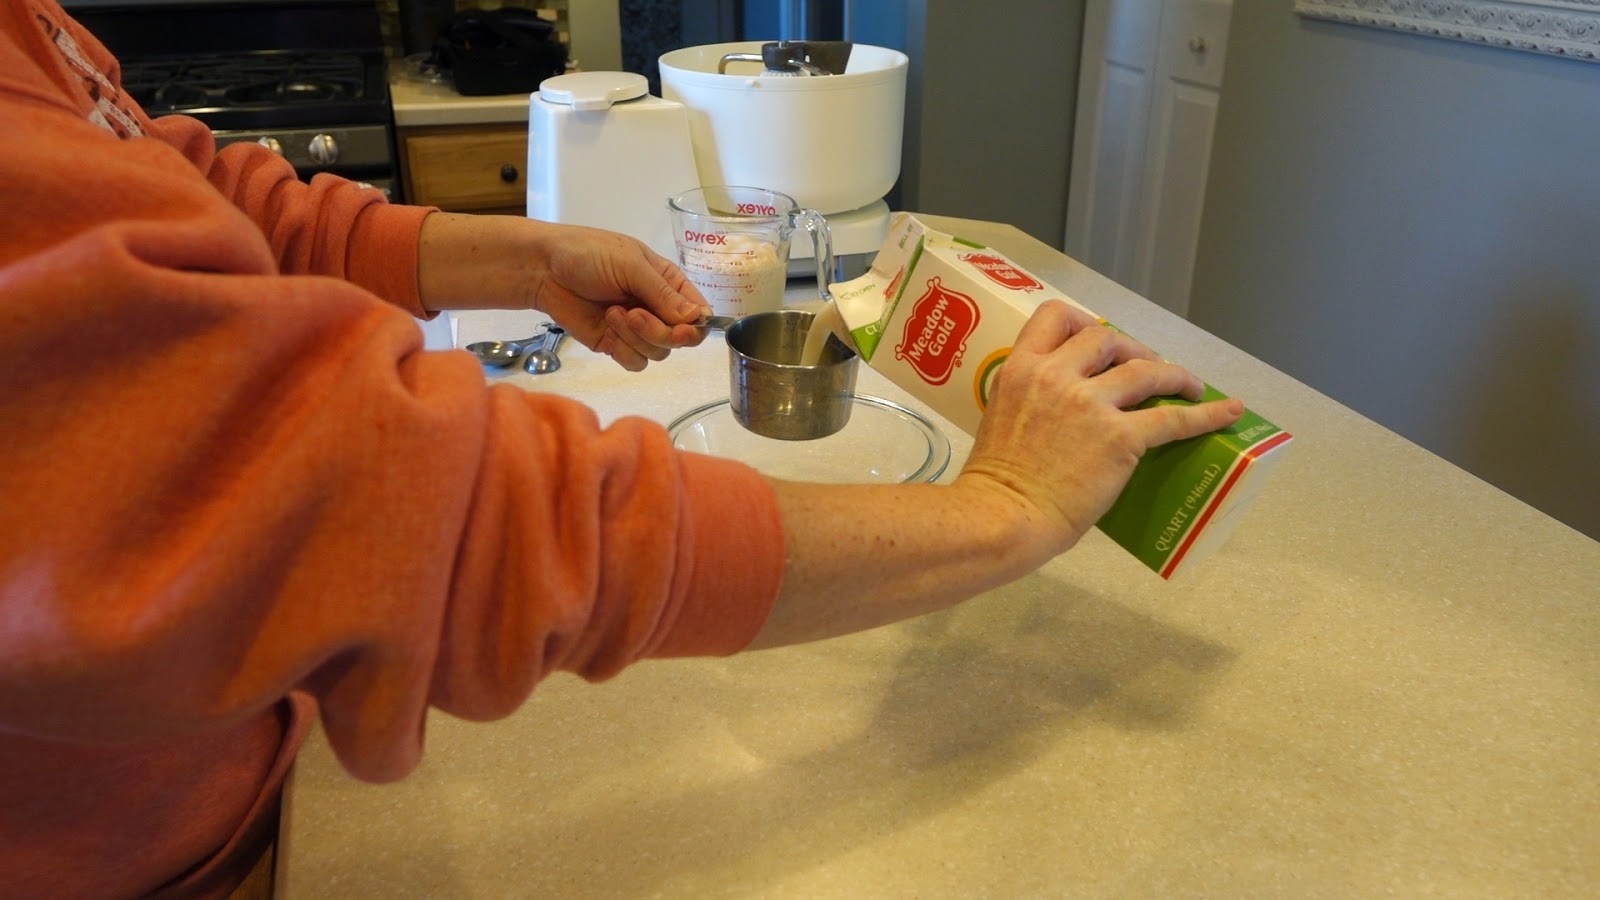
 Pour 2 cups of buttermilk in a microwave safe container and warm it up for 1 minute.
 There is a cheater way to make buttermilk if you don't have it on hand: just pour 1 Tablespoon white vinegar into one cup of milk and let it sit for a few minutes. You'll need 2 cups for this recipe.
 
 Place your yeast into a mixer.
 Add to it the 2 cups of warm buttermilk.
 Add 1 Tablespoon sugar. Mix well.
 Crack an egg into a separate bowl and beat it.
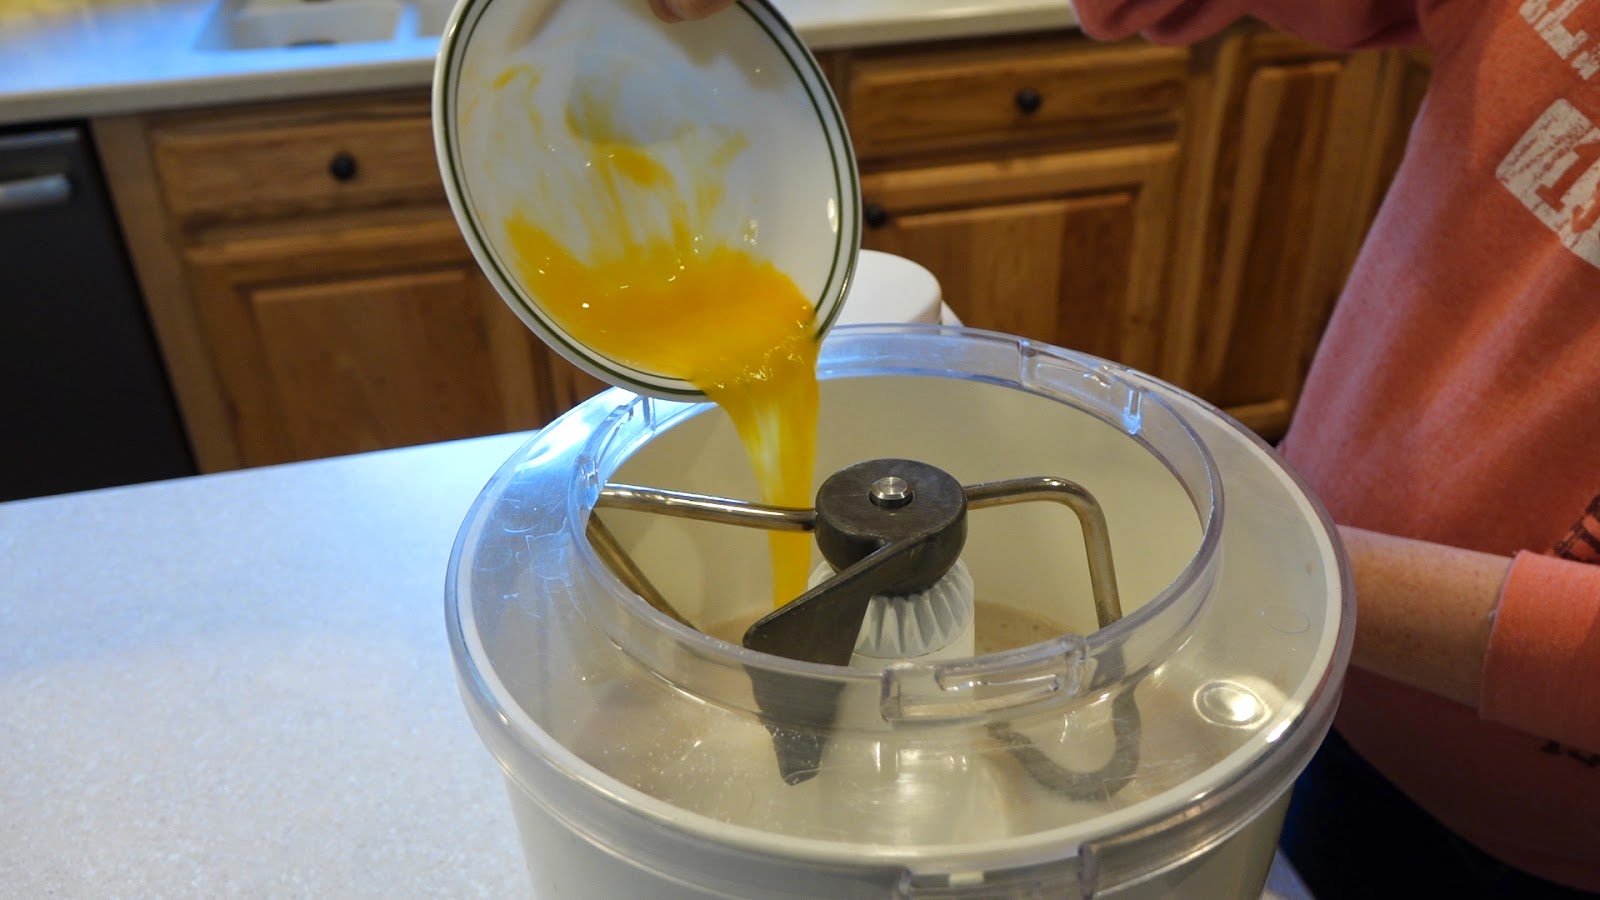
Then add it to the yeast and sugar.
 Pour in 1 Tablespoon vegetable oil. Mix together for a few seconds.
 Next, you're going to start on your dry ingredients. Start with 3/4 teaspoon salt.
 Add 1/2 Tablespoon baking powder.
 And 1/4 teaspoon baking soda.
 Now mix in your 4 cups of flour. Add 2 cups and mix well.
 Then put in your salt, baking soda, and baking powder, 
 and blend in the other 2 cups of flour.
 Transfer the dough into another bowl,
 and cover with plastic wrap. Let the dough rise until it has doubled in size (about an hour).
 Start on your honey butter while the dough rises.
 All you do is take 1 cube softened butter and mix it with a hand mixer until there are no chunks. Slowly add 1 cup of honey to the butter and continue mixing until well blended.
 Add 1 teaspoon vanilla,
 mix it in, then cover the honey butter and refrigerate.
 
 When your dough is ready,
 place it on a floured countertop and knead in a little more flour if you need to.
 It should look like this and shouldn't be sticky to the touch.
I like to cut my dough in two and cover in plastic wrap. Each of these balls of dough will make about a dozen scones. The dough can last in the refrigerator for a few days.
 Roll out your dough until it's about 1/2 inch thick and cut up into 12 sections.
 Pour 2 cups or so of vegetable oil into a large saucepan
 and heat it up to 350 degrees.
 Stretch your dough out a bit and place in the hot oil.
 Fry for 3-5 minutes or until the scone is golden brown.
Serve the scone with your honey butter and sprinkle some powdered sugar on top.
And you're finished! Enjoy these delicious pieces of heaven on earth and share some with your friends!


Monday, January 5, 2015

Party Potatoes


If you're not from Utah you might not be familiar with Party Potatoes (AKA funeral potatoes). These are a staple in my family/community. They are creamy, cheesey, yummy potatoes that go well as a side to almost anything. I like to serve them with this BBQ turkey recipe or any grilled chicken or beef. We make them for family parties, church parties, and funerals all the time. Here's my favorite recipe that I learned from my mom:

Party Potatoes -

1 cube butter
1 Tablespoon dry minced onion
2 cans cream of chicken soup
1 small container sour cream (16 oz.)
2 cups grated cheddar cheese
1 bag frozen hash brown potatoes (2 lbs.)
2 cups crushed Corn Flakes

*This recipe will fill a 9" x 13" pan. If you need more just double the recipe and buy one of those disposable large roaster pans like this and put them in there.

(You can skip to the bottom of this post to watch an instructional video)

 In a large pot melt your stick of butter over medium/low heat.
 Add your Tbsp. of dry onion.
 Let the butter melt completely with the onions then remove from heat.
 Stir in 2 cans of cream of chicken soup,
 1 small container of sour cream,
 and 2 cups shredded cheddar cheese. Mix together well.
 Add 1 bag frozen hash browns or you can use fresh shredded hash browns like these Simple Potatoes. (I had to use 2 bags of these since they were smaller.)
 Stir in the potatoes until they are thoroughly covered by the sauce/cheese mixture.
 Transfer to a greased 9" x 13" casserole pan.
 Crush up 1-2 cups of Corn Flakes and sprinkle over the top.
Bake in the oven at 350 degrees for 1 hour.
My critics give Party Potatoes 2 thumbs up!!
I hope you enjoy them too!
 
Here's a short instructional video:


Saturday, January 3, 2015

Crockpot Beef Stew


Is there anything better than throwing a few ingredients into your Crock Pot in the morning and coming home at night to a delicious meal?! I can't think of anything. This is a beef stew recipe my mom got from a sweet, elderly lady in her neighborhood named Ila. We've been making it for years and it's always delicious, warm, hearty, and comforting especially on a chilly winter night.
 
Crock Pot Beef Stew -
 
2 lbs. beef cubes for stew
3-4 large russet potatoes
2 cups chopped carrots
1 small onion (optional)
1 can tomato sauce
2 cans cream of chicken soup
1 can cream of mushroom soup
1 package dry onion soup mix
1 package frozen peas 
 
Start by getting out your favorite Crock Pot.
You will need: 2 lbs. beef stew meat,
frozen peas (you'll add these last about 30 min. before stew is ready),
baby carrots,
 1 small onion,
1 small can tomato sauce,
2 cans cream of chicken soup, 1 can cream of mushroom soup,
1 package dry onion soup mix,
and 3-4 large russet potatoes.
Peel your potatoes and chop them up into bite size chunks. (I peeled 5 large potatoes and had WAY too many so I just used 3.)
 

Chop up your carrots until you have about 2 cups.
(If you want to add 1/2 of the small onion chop it up and put it in the bowl with the other veggies. I left it out.)
In a separate mixing bowl stir your soups and tomato sauce together.

Place half of your veggies in the bottom of the Crock Pot and half of the meat on top of them. Season with Lawry's salt.
Spread half of the soup mixture on top of the meat and veggies.
Then just repeat the process one more time; veggies, meat, salt, sauce.
Sprinkle the package of dry onion soup on top of the last layer.

Set your Crock Pot to either 6 hours or 8 hours, depending on how much time you have before dinner.
Then just go about your day and forget about it!
 Stir the stew a few times throughout the day if you're home.
 About a half an hour before serving the stew, add the peas.
 Ah, that pop of green color just completes it! Once the stew has cooked for 6-8 hours it's ready to be served. I like to serve my stew in bread bowls with a salad on the side. I've been smelling mine cook all day and I'm ready to eat it up. Delicious! I hope you enjoy it too.

Friday, January 2, 2015

New Year's Giveaway!!


**This giveaway is now over. Thanks to all who entered it!!

I thought it would be fun to do a giveaway at the beginning of the year to start the year off right! In my post on homemade rolls I wrote about my favorite baking sheets and lids from Orson Gygi. I love them so much that I want to share them with one of you (I wish I could share them with everyone)! They're perfect for baking cookies, rolls, potatoes, brownies, whatever you need to bake but my favorite thing is the lid that goes on top for letting rolls rise.

So here's what you'll get: 2 half size Orson Gygi baking sheets (18" x 13" x 1") and 2 half size lids to go with them.
 
To enter:
 
1. All you need to do is follow Fun Ideas to Share on facebook (just click the link to get there).
 
2. Share this post on your Facebook page. Link is: http://funideastoshare.blogspot.com/2015/01/new-years-giveaway.html
 
3. Leave a comment on my Facebook post after you've done steps 1 and 2 saying what you'd make first if you won these pans.
 
That's it! Make sure your comment is on the Facebook post so I can keep track of who has entered. In one week (on January 9th at 10:00 am) I'll announce the winner. The winner will then have 3 days to email me their info at bhnielsen@gmail.com. If I don't hear from them in 3 days I'll draw another winner. Good luck!!


Dollar Store Organizing


Happy New Years everyone! One of my New Year's resolutions is to get my house my more organized. One small project I tackled on New Year's Day was my bathroom drawer that was driving me nuts! We moved into our home 6 months ago and I still hadn't gotten it organized the way I wanted. So I went to the Dollar Store and bought some cute, cheap little plastic organizers and went to town. Here's how it turned out:
This is what my drawer looked like before. Everything was just thrown in there and it was a mess! It was hard to find anything and not functional at all.
These are the little plastic containers I found at the Dollar Store. It's always hit and miss what they have but they usually have some type of plastic baskets like these. You can see they were 2 and 3 for a dollar so I spent a total of $4 for this project. Wahoo!
And here's how the drawer looks now. Everything has a place and it's all organized into sections. It's so nice to just look in quickly and know where to find something.
 
 
After I finished this drawer, I even had extra baskets left over to organize my kids' bathroom drawer. I love this drawer now and I feel so much better when I open it and see everything in its place! Now onto my next project...
 
If you have any organizing projects that need to be done and you don't want to spend a fortune on them check out your local Dollar Store first and see what helpful tools you can find.
 
And if you need help getting motivated to start organizing check out my favorite YouTube organizer at Home Organizing by Alejandra.tv. She has some great tips and tricks and something about watching her makes me want to get organized too! Here's one of her videos on Cheap Storage Ideas: