I picked up a desk and chair from a garage sale for $40. Instead of paying someone else to refinish it for me I thought I'd give it a shot myself. After watching a few YouTube videos and figuring out what paint and materials to use I went for it. It turned out beautiful and it was much easier than I thought. If you have an old piece of furniture lying around give it new life just by painting it!
First, I decided on the color Marina Isle by Behr. Instead of buying a ton of paint I just bought a sample size for $4 in a satin sheen. It turned out I needed two of these but still, I only paid $8! This is just regular paint you would use for your walls. It's not a special wood paint or anything.
This color is a minty green/blue color. The color right above it would be gorgeous too but I wanted a pop of color for this desk.
I used Kilz 2 Latex multi-purpose Stainblocker as my primer. This cost around $9 at Home Depot.
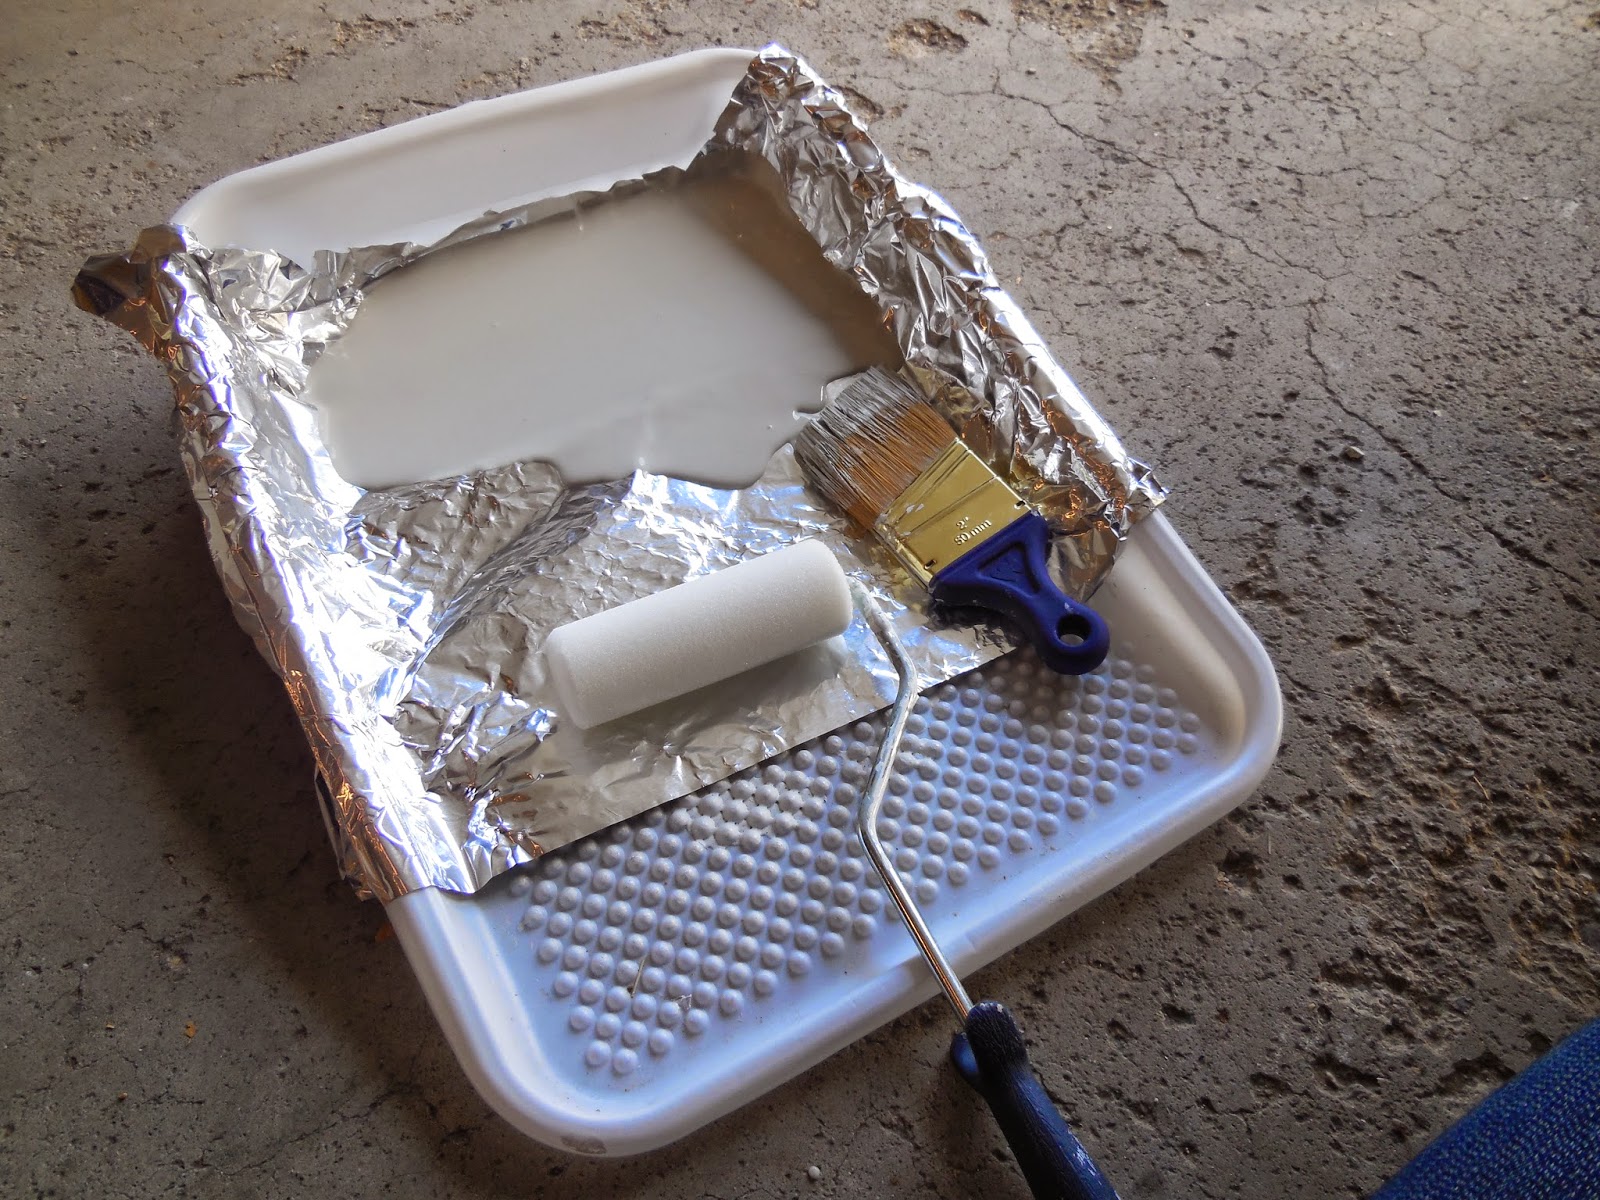
I was worried that the desk would have streaks in it since I wasn't using a sprayer but it turned out fine by using just a small roller with a smooth finish sponge and a regular paint brush I had lying around.
I used this Black & Decker sander that my husband had. If you don't have an electric sander I bet you could rent one from a local hardware store or find a nice neighbor that will loan you one.
For the first sanding I used 120 grit sand paper and then I used 220 grit for the second time around. The lower the number the rougher the texture of the sand paper. For any parts of the table and chair I couldn't reach with the sander I just held the sandpaper in my hand and gave it a mediocre sanding just so the primer and paint would stick well. After sanding make sure to wipe your furniture down well with a wet cloth to remove any dust.
The last step is to cover the paint with a clear top coat to protect it. I used Minwax water based Polycrylic protective finish. This was the most expensive thing I had to buy ($17). I could have gotten a smaller one for $8 but I figured I'd be using it again for future projects so I might as well get the large can. The small can would have been enough to do 2 coats on this table, it goes far.
Here's a before picture of the table. Not bad, but it didn't match the décor in my dining room where this desk would be going. I don't have a picture of the chair that matches but you'll see that refinished.
Step 1 - Sand the table and chair 1st with a lower number grit (I used 120) then with a higher number grit (I used 220).
Step 2 - Wipe down the table with a damp cloth and make sure there is no dust left over from sanding. Then with your paint brush paint the edges and parts where the roller won't reach. Go over the whole table with a light coat of the primer using the roller. Let the first coat dry and then repeat and do a 2nd coat. The picture above is after 1 coat of primer.
Step 3 - Once the primer is dry (I let it sit overnight) start your 1st coat of paint. Use the same process as you did with the primer using the brush to get in the cracks and then rolling on the paint with the roller. Let the 1st coat dry and decide if you need another coat. Mine was still a tad streaky so I used 2 coats.
Step 4 - Distress (if desired). This desk looked fine without any distressing but I wanted it to match some other furniture I have so I did distress it lightly. Just go around the edges with the sandpaper in your hand and rub off some paint where the furniture would wear. You might be afraid to do this step since you just painted it and it looks so nice. If you want it distressed just go for it! You can always repaint over if you don't like it.
Step 5 - Put on the top coat. The Minwax top coat I used is very thin and watery so you don't need a ton. I put it on the same way I painted the primer and paint. I did do 2 coats again just to make sure it was covered well.
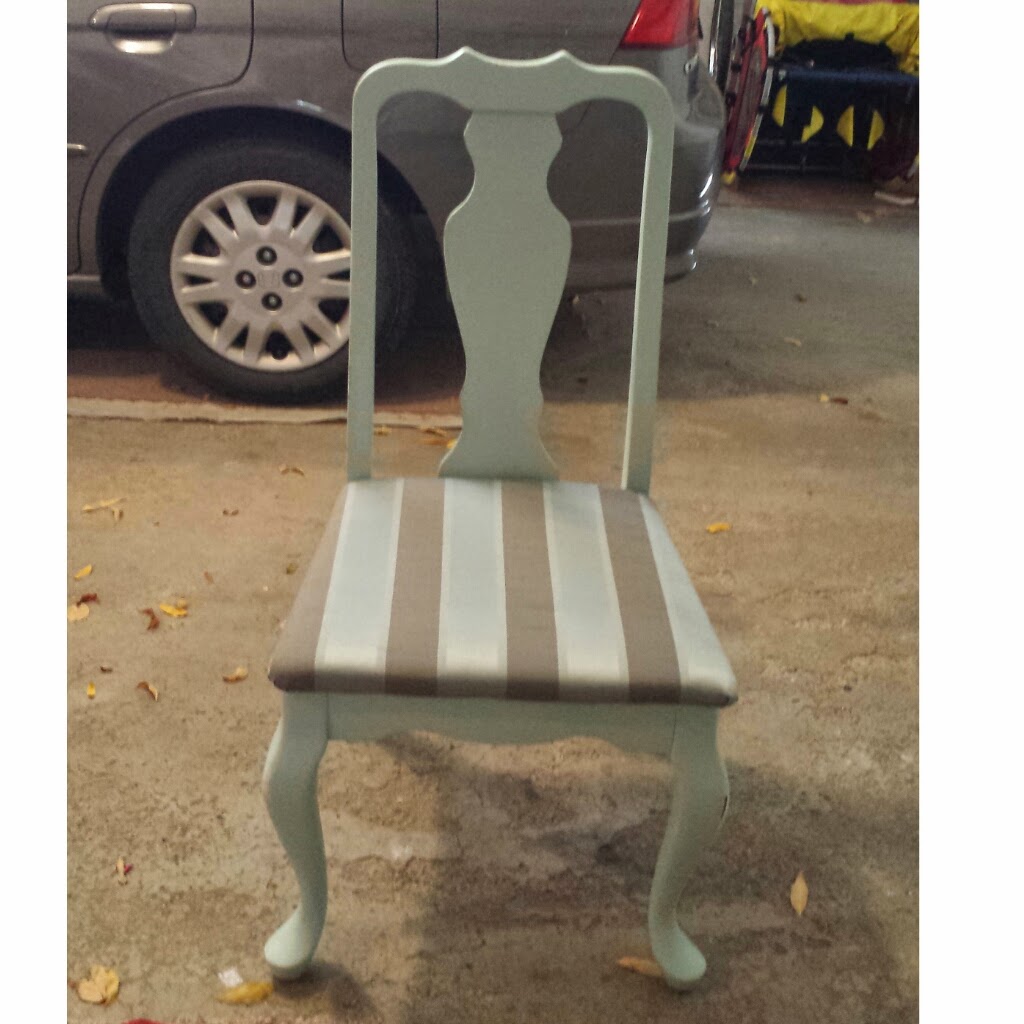
Here is the chair refinished and reupholstered. I just bought some cute fabric from Hobby Lobby and stapled it over the old cushion. It was simple! But it made all the difference.
Voila! The finished product back in my house. Overall I think I spent around $40 to complete this project. Next time I need to refinish something I'll have everything I need except the paint so it won't cost near as much.
I'm loving my little computer corner now!