Thursday, October 29, 2015

Cheesy Breadsticks


I got this delicious breadstick recipe from my aunt, Suzy. She always makes these for family parties and I told her I had to have the recipe. They're delightful! They go perfectly with any soup especially Potato Cheese, Beef Stew, and Chicken Noodle. All you do is use my favorite roll recipe and turn them into breadsticks instead of rolls. Here are the instructions:

Cheesy Breadsticks -

2 Tablespoons yeast
1/2 cup warm water
1/2 cup sugar
1/2 cup softened butter
1 1/2 cups warm milk
1 teaspoon salt
2 eggs
5-6 cups flour

6 Tbsp softened butter
Salad Supreme seasoning
1 cup shredded Mozzarella cheese
1 cup shredded Cheddar cheese

Mix water and yeast together with a tsp. of sugar and let it rise for 15 minutes in your mixing bowl. Heat milk for 1 minute in microwave. Add milk to yeast. Then add 2 beaten eggs and salt. Add rest of sugar. Slowly add flour until dough pulls away from the side. Put dough in a clean large bowl and cover with plastic wrap. Let it rise until it doubles in size. Pour dough on counter top and add more flour if needed. Cut into two. Roll out each ball on a greased baking sheet to the edges. Spread softened butter on top of dough, sprinkle Salad Supreme over butter, and sprinkle shredded mozzarella and cheddar cheese on top of that.  Cut dough into 18 slices with pizza cutter. Cover and let the breadsticks rise again. Bake at 375 degrees for 10-12 minutes. This recipe makes 3 dozen breadsticks.

 This is what Salad Supreme looks like in case you've never seen it.
Here's what the breadsticks look like before they had time to rise:

 And here's how they look after being baked. Yum!! Hope you like 'em!

Thursday, September 3, 2015

Jake's Chocolate Chip Cookies


One of the things I love about my husband, Jake, is that he's an excellent cook! Whenever he makes his chocolate chip cookies people always ask me for MY recipe. As much as I'd like to take the credit, I have to tell them that it was actually my husband that baked them. Here's his favorite recipe:

Jake's Chocolate Chip Recipe:

3/4 cup vegetable oil
2 eggs
3/4 cup granulated sugar
3/4 cup brown sugar
1 teaspoon vanilla
1 teaspoon salt
1 teaspoon baking soda (combine with 1 tsp. very warm water)
2 1/4 cup flour
Add 1/2 package chocolate chips (we prefer milk chocolate)

Combine wet ingredients. In a separate bowl, combine dry ingredients. Mix together. Bake at 350 degrees for 9-10 minutes. Enjoy!


Wednesday, July 22, 2015

"Waffle Truck" Waffles


Have you ever had waffles from a waffle truck that taste more like dessert than a waffle? Well, my aunt, Andi, and my cousin, Mindy, shared a recipe with me that tastes just like them! They make them for baby showers, wedding showers, and family get togethers and they're always a big hit. These waffles are to DIE for! You'll see why when you try them. Here's how to make them:

Belgian Waffles:

1 (1/4 oz.) package yeast (or 2 1/4 tsp.)
1/3 cup warm water
1 1/2 Tablespoons granulated sugar
1/8 teaspoon salt
2 cups flour
3 eggs
1 cup melted butter
1 teaspoon vanilla
3/4 teaspoon ground cinnamon (optional)
1 cup Belgian pearl sugar*

Mix the yeast, water, sugar, and salt in a bowl and let it develop or sit for 15 minutes.

Place the flour in a separate large mixing bowl and make a well in the center of the flour.

Pour the yeast mixture into the well and mix until blended on medium speed.

Add the eggs (one at a time), melted butter a bit at a time, and the vanilla and cinnamon. Be sure to mix well after each addition to the batter. Keep in mind the batter will be thick and very sticky.

Remove the bowl from the mixer and let the dough rest until it doubles in volume inside the bowl.

Gently fold in the pearl sugar and let the dough rest for 15 more minutes.

While the dough is resting, heat the waffle iron (we recommend a Belgian waffle iron because it has deep pockets).

Spoon your batter onto the iron (I used about 1/3 - 1/2 cup). Waffles take 3-5 minutes to cook. Serve with caramel syrup, strawberries, and whip cream. Enjoy!

*Belgian pearl sugar can be found at Orson Gygi in Salt Lake City, online on Amazon.com or Walmart.com. You can make your own if you don't have any on hand. Here's the recipe I used from the Pancake Princess: Pearl sugar I used the stove top method. I still prefer the real stuff but this works too!

Caramel Syrup:

1/3 cup sugar
1 cup firmly packed light brown sugar
1/4 cup pure maple syrup
1/4 cup dark corn syrup
1 cup heavy cream

In a large heavy saucepan stir together ingredients and cook over moderately high heat, undisturbed, until it registers 220 degrees on a candy thermometer. Serve warm. Keeps covered and chilled for 1 week.

(I have also used a delicious vanilla/cinnamon syrup from Allrecipes.com that is super delicious too!)


When I made these for my kids my oldest son said, "Mom, you get the reward for best waffle maker ever!" Now if that's not the best compliment ever I don't know what is!
 
Enjoy!

Tuesday, July 14, 2015

Chicken Pot Pie


My Aunt, Helen, gave me this delicious chicken pot pie recipe. My kids love it and so do I! It's also a great recipe to make extras of and freeze for later.


Chicken Pot Pie -

1 can cream of potato soup
1 can cream of chicken soup
1/2 cup milk
1/2 cup cooked chopped onion
1 1/2 cup frozen peas and corn
1 can diced carrots
2 cups cooked chicken cubed

Mix all ingredients together and spoon into prepared crusts.

Pie Crust -

2 cups flour
1 cup shortening
1 tsp salt
1/3 cup cold water

Combine flour and salt. Cut in shortening until crumbly. Gradually add water little at a time, tossing with fork until dough forms a ball. Shape dough into two balls, wrap in waxed paper and refrigerate for 30 minutes. Roll out dough. Line 2 small pie tins or 1 large pie tin with dough. Add filling. Put remaining dough on top of pie. Trim, seal, and flute edges. Cut slits in top. Bake at 375 degrees for 45-50 minutes.

Coffee Table Refinish


If you have oak furniture that is still in good shape but you just want to give it an update try painting it. Refinishing a coffee table it much easier than you think! What you will need:
 Electric sander
(sanding by hand would work too but would take much longer)
 Sand paper - I used 200 and 220 grit. Higher number = smoother finish.
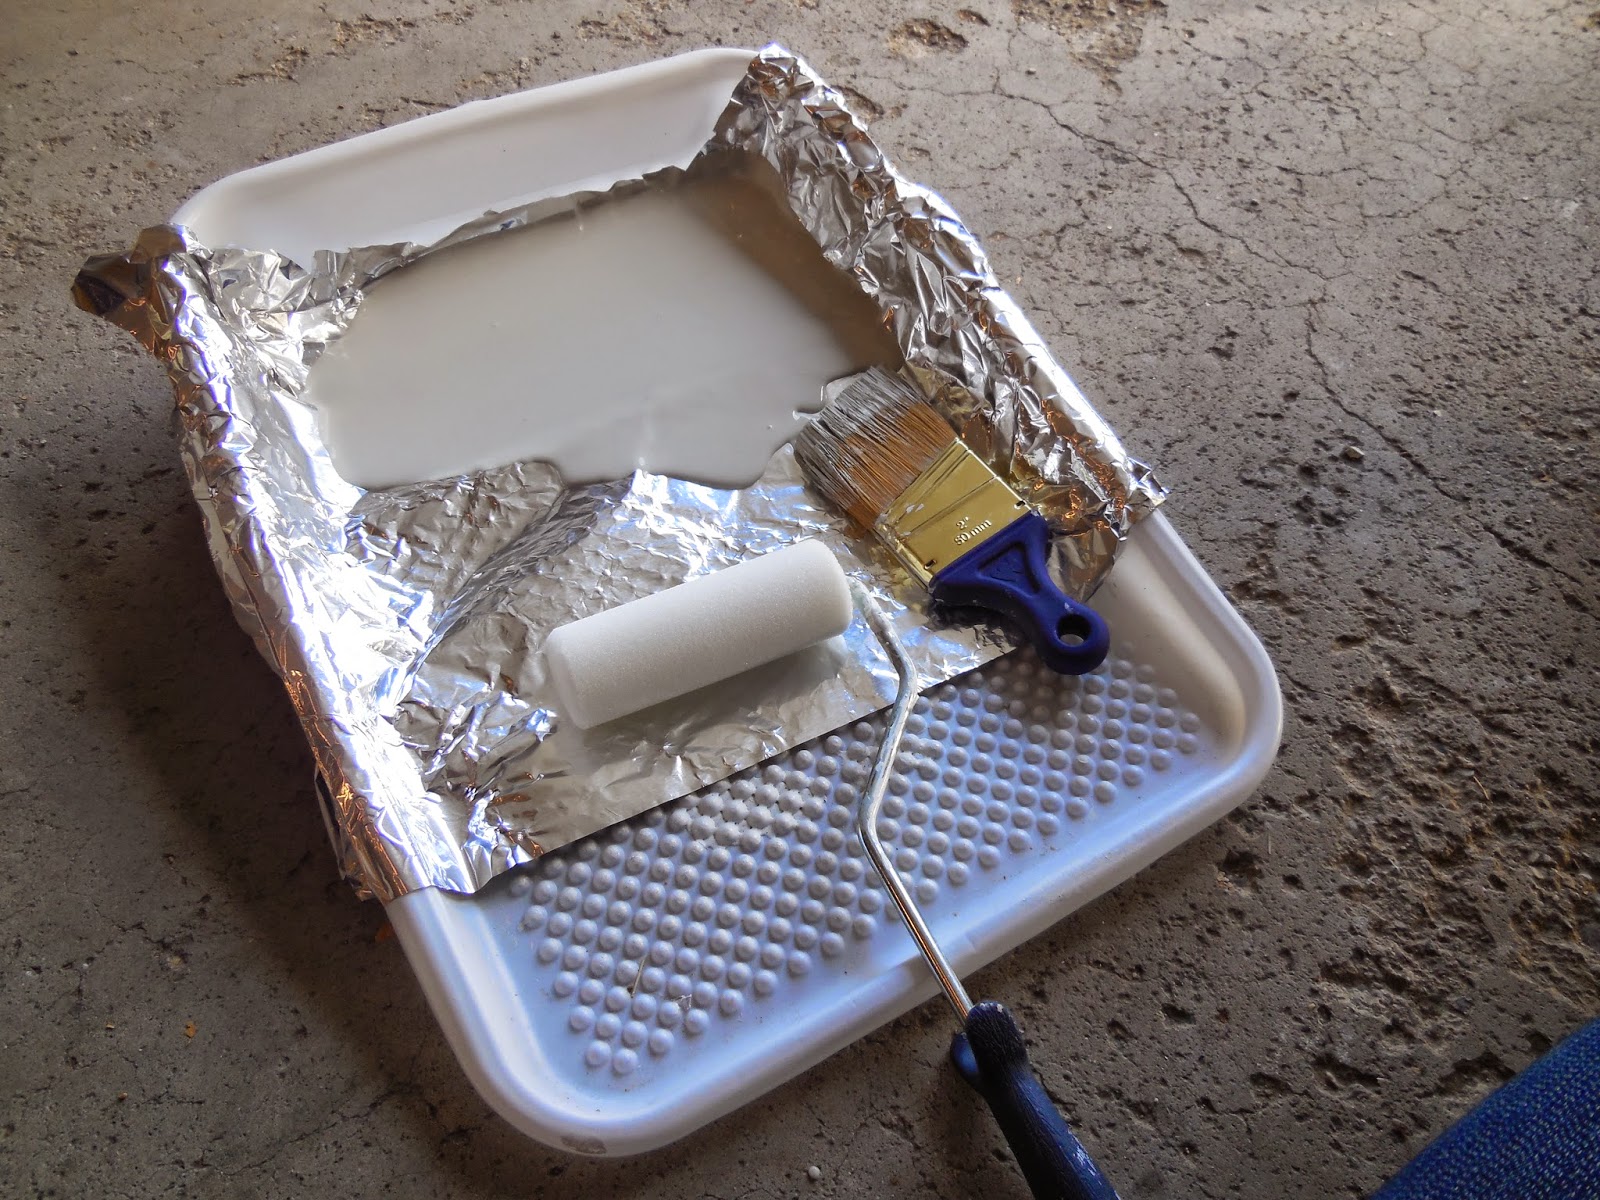
A primer - I like to use Kilz 2 latex
Paint brush and roller
Paint - I chose a gray/blue
 Protective finish - I used Minwax water based Polycrylic.
Start by lightly sanding the whole table with your sander. For the places your sander can't reach just sand it by hand.
Wipe down the entire table so there's no dust on it before you begin painting.
Next, paint 1 coat of primer all over the table and legs with your brush and roller. Let dry completely.
After it's dry, paint a second coat of primer. Let dry.
Using the brush and roller put your first coat of paint on. Again, let it dry completely. Paint a second coat and let it dry.
Once the paint is dry you are ready to distress the edges. I used sandpaper on a block and sanded the edges and legs a bit. Don't be afraid to mess up your beautiful paint job! It'll be worth it in the end.
After you distress it you're ready to paint it with the protective finish. Paint it on just like you did with the primer and paint. It's thin so a little bit of this goes a long way. Allow to dry and paint on your final coat. 
Here's a close up look at the distressed edges:
That's it! You're finished. Now your coffee table has a beautiful, modern new look. 

Saturday, April 18, 2015

Homemade Oreo Cookies


These Homemade Oreo Cookies are about as easy to make as it can get! My sister-in-law, Misty, taught me how to make these years ago and I make frequently especially when I'm short on time. It only takes 4 ingredients and you can whip them up in no time. They're always a hit!

 Oreo Cookies:

1 Devil's Food cake mix
2 eggs
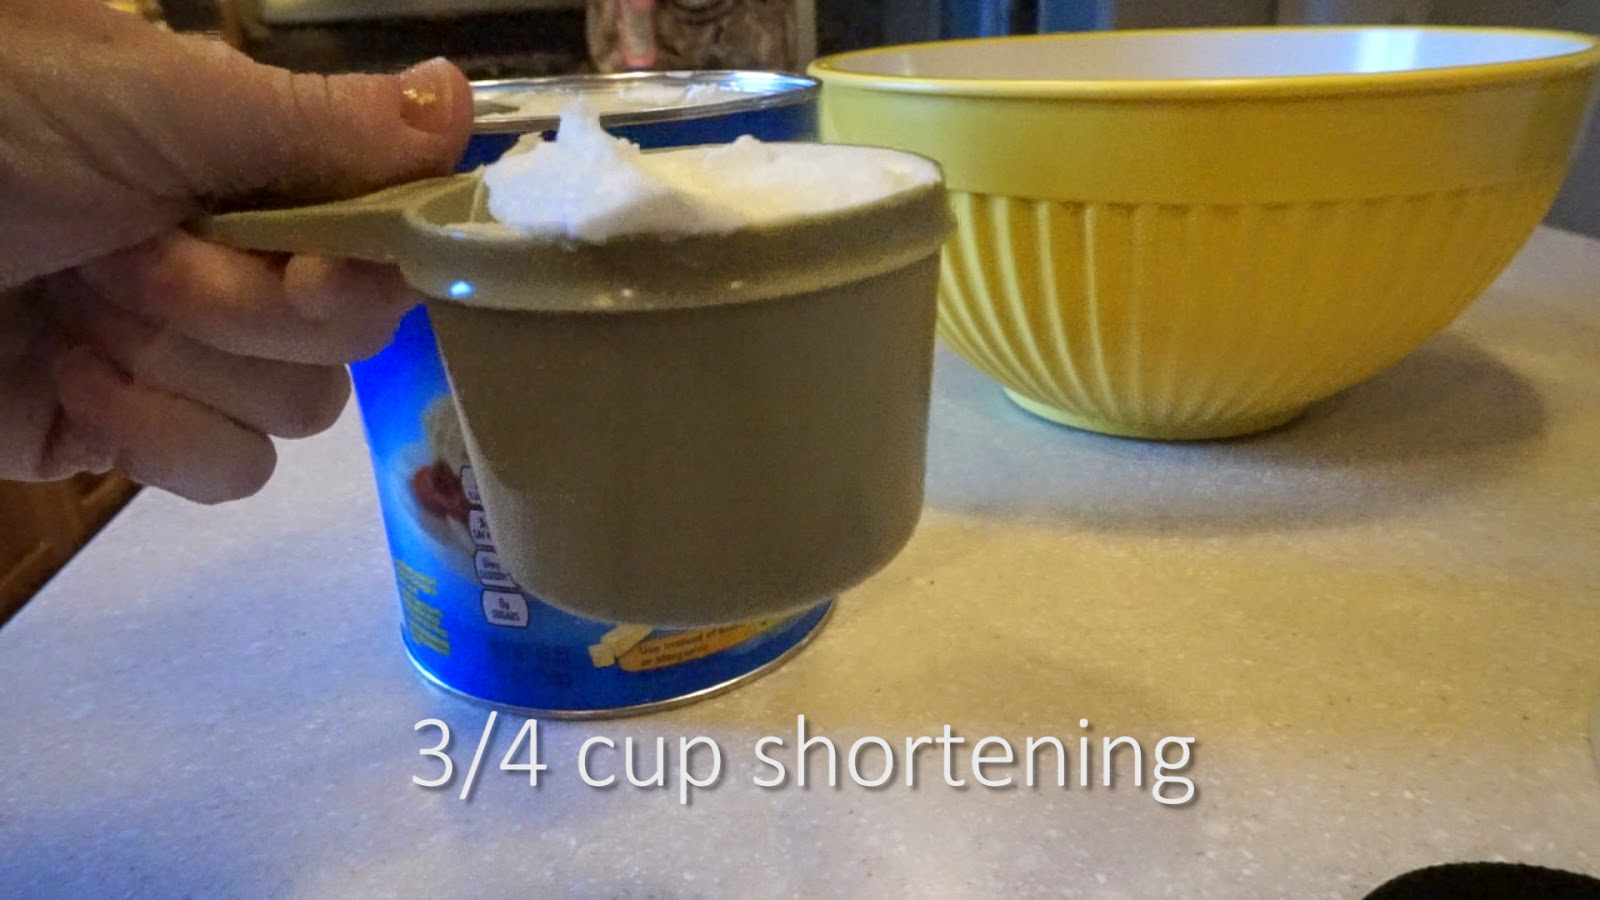
3/4 cup Crisco (butter flavor is preferable)
1 container vanilla frosting
*This recipe makes about 2 dozen cookies. Double the recipe for 4 dozen.

In a large mixing bowl mix together cake mix, eggs, and shortening. Roll dough into 1 inch balls. Bake at 350 degrees for 7-10 minutes. Let cool. Frost bottom side of one cookie and place another cookie on top (also bottom side down) to make a sandwich. Enjoy!
 
Video instructions:

Step by step instructions:


And that's all there is to it! Enjoy!


Thursday, March 19, 2015

Orange Julius


It's warming up around here so it's time to start making Orange Julius again! Who am I kidding? We make it all year round, even when it's freezing, 'cause it's one of our favorite treats. This is my favorite recipe. Add 1 cup cold water to this if you like yours a little runnier. I like mine nice and thick! Enjoy!

Monday, March 9, 2015

Half Bath Remodel


The bathroom on the main floor of our house is just off the kitchen. It was a tiny half bath when we bought the house--no good. We knew it needed some help so we tackled the project recently and here's how it turned out.
This is what it looked like before we started remodeling. It was just big enough for a toilet and a small vanity. Since it would be the bathroom our guests would be using I wanted to turn it into something more comfortable and inviting.
We decided to move the wall out about 9 inches which doesn't sound like much but it made a huge difference in this small bathroom! Once we moved the wall the toilet was no longer centered in the room so we had our plumber friend, Chad Baxter, fix it for us.
We picked out a small, light colored tile for the floor that's off-white with gray streaks in it.
After the wall was widened I was able to pick out a regular size 30" vanity to go in the little cove there. I picked out this one from Martha Stewart at Home Depot:

We painted the walls a flat white to get it prepped for wallpaper. My mom thought I was crazy for choosing to put up wallpaper since her whole house was covered in wallpaper from the '80s and we just finished taking hers down. But modern wallpaper now is SO pretty and I found exactly what I wanted at Houzz.com and bought it at Home Depot.com. It's called Sea Breeze Large Floral Trail Wallpaper by the Wallpaper Company. 
Luckily my mom is an expert at hanging wallpaper and she showed me what to do. I wouldn't recommend trying to hang wallpaper by yourself. It's definitely a 2 (or 3) person job!
 Here's what it looks like going on the wall. I love it!

 My mom, me, and our little helper.
After the wallpaper was up it was time to start on the wainscoting. We cut the bead board to size out in our garage and then I painted it once it was hung on the wall.


This is how it turned out:


 I picked out this light from Home Depot and my husband put it in for me.

Here's how the vanity looks. I took off the boring silver knobs and added these decorative ones I bought from Hobby Lobby. It was a little change but made a big difference!
 
I found the perfect mirror at Hobby Lobby! I just waited for it to go on sale and eventually got it for half off.
 
The last thing we had to do was add the faucet (from Home Depot), the hand towel ring, and the toilet paper holder. Then the bathroom was complete!
 Here's the finished product:
 
I took a short video to try and show the whole bathroom since it's hard to do with still pictures.
 
This project was probably my favorite to do in our house. I love cute bathrooms! Now when I have guests come over I'm not embarrassed when they have to use our bathroom.