Tuesday, July 14, 2015

Coffee Table Refinish


If you have oak furniture that is still in good shape but you just want to give it an update try painting it. Refinishing a coffee table it much easier than you think! What you will need:
 Electric sander
(sanding by hand would work too but would take much longer)
 Sand paper - I used 200 and 220 grit. Higher number = smoother finish.
A primer - I like to use Kilz 2 latex
Paint brush and roller
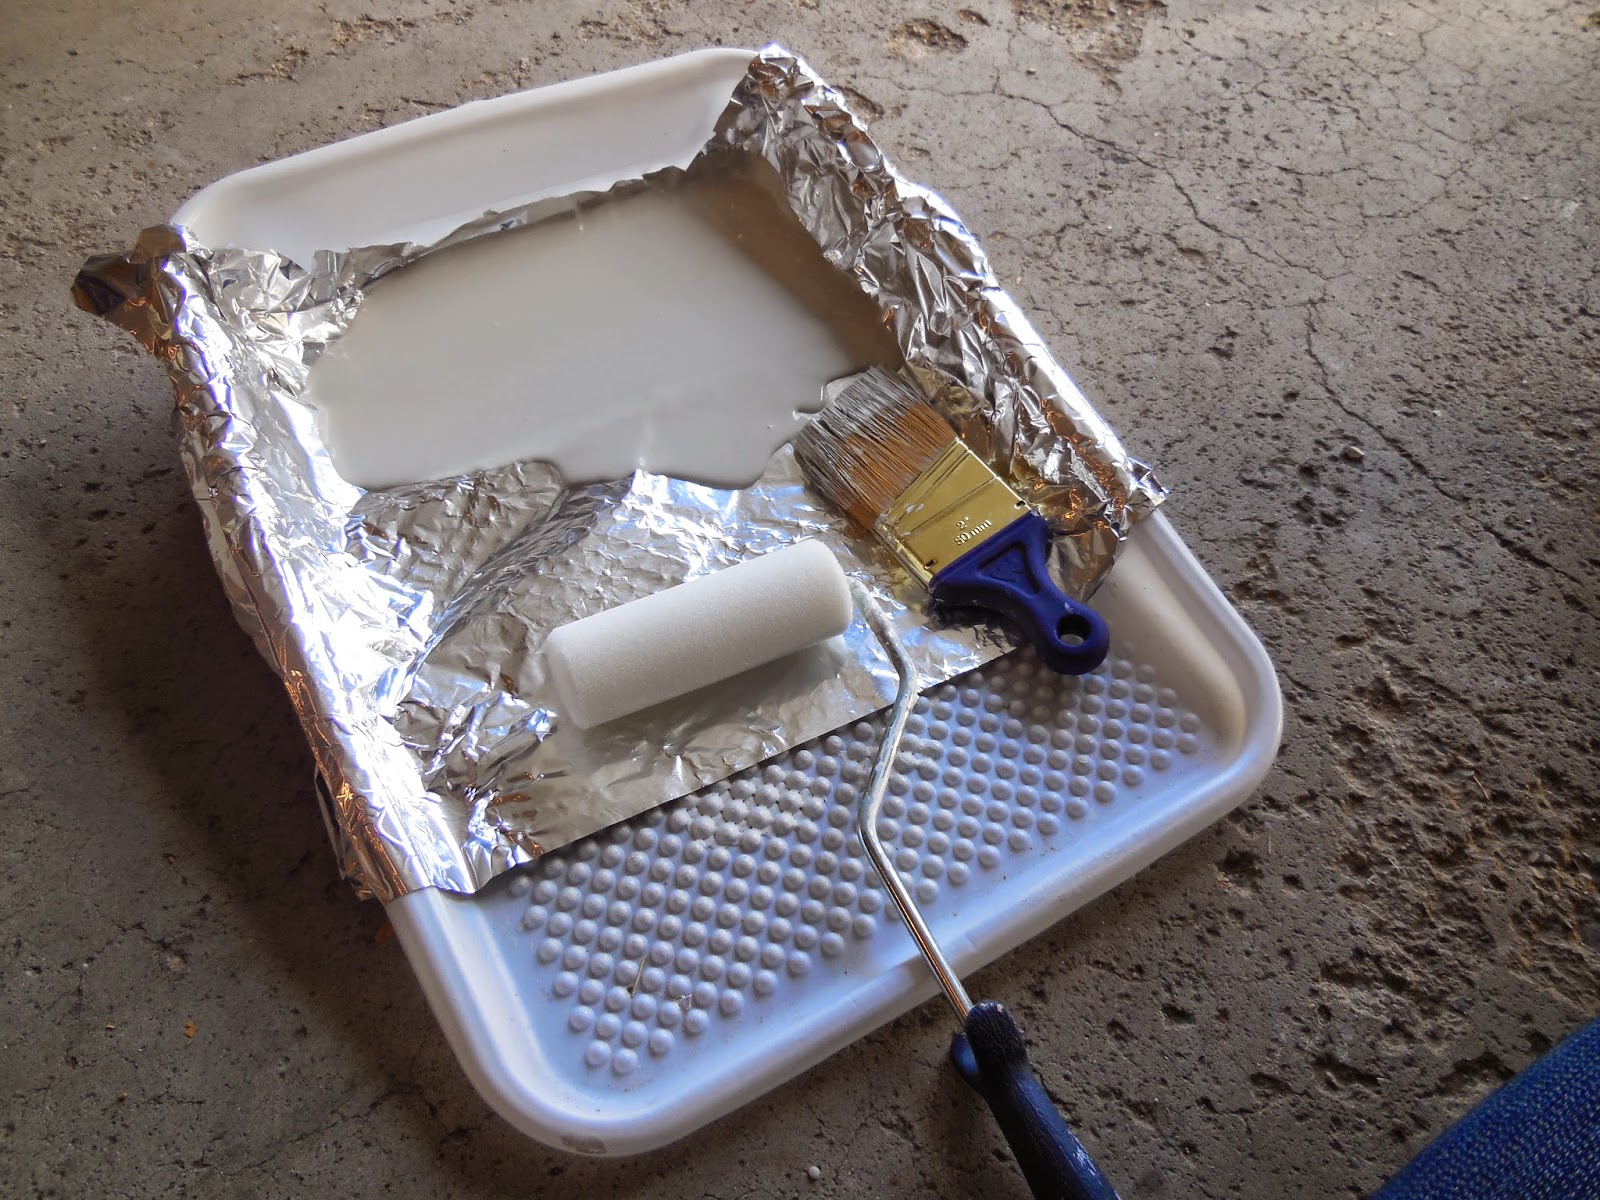
Paint - I chose a gray/blue
 Protective finish - I used Minwax water based Polycrylic.
Start by lightly sanding the whole table with your sander. For the places your sander can't reach just sand it by hand.
Wipe down the entire table so there's no dust on it before you begin painting.
Next, paint 1 coat of primer all over the table and legs with your brush and roller. Let dry completely.
After it's dry, paint a second coat of primer. Let dry.
Using the brush and roller put your first coat of paint on. Again, let it dry completely. Paint a second coat and let it dry.
Once the paint is dry you are ready to distress the edges. I used sandpaper on a block and sanded the edges and legs a bit. Don't be afraid to mess up your beautiful paint job! It'll be worth it in the end.
After you distress it you're ready to paint it with the protective finish. Paint it on just like you did with the primer and paint. It's thin so a little bit of this goes a long way. Allow to dry and paint on your final coat. 
Here's a close up look at the distressed edges:
That's it! You're finished. Now your coffee table has a beautiful, modern new look. 

Saturday, April 18, 2015

Homemade Oreo Cookies


These Homemade Oreo Cookies are about as easy to make as it can get! My sister-in-law, Misty, taught me how to make these years ago and I make frequently especially when I'm short on time. It only takes 4 ingredients and you can whip them up in no time. They're always a hit!

 Oreo Cookies:

1 Devil's Food cake mix
2 eggs
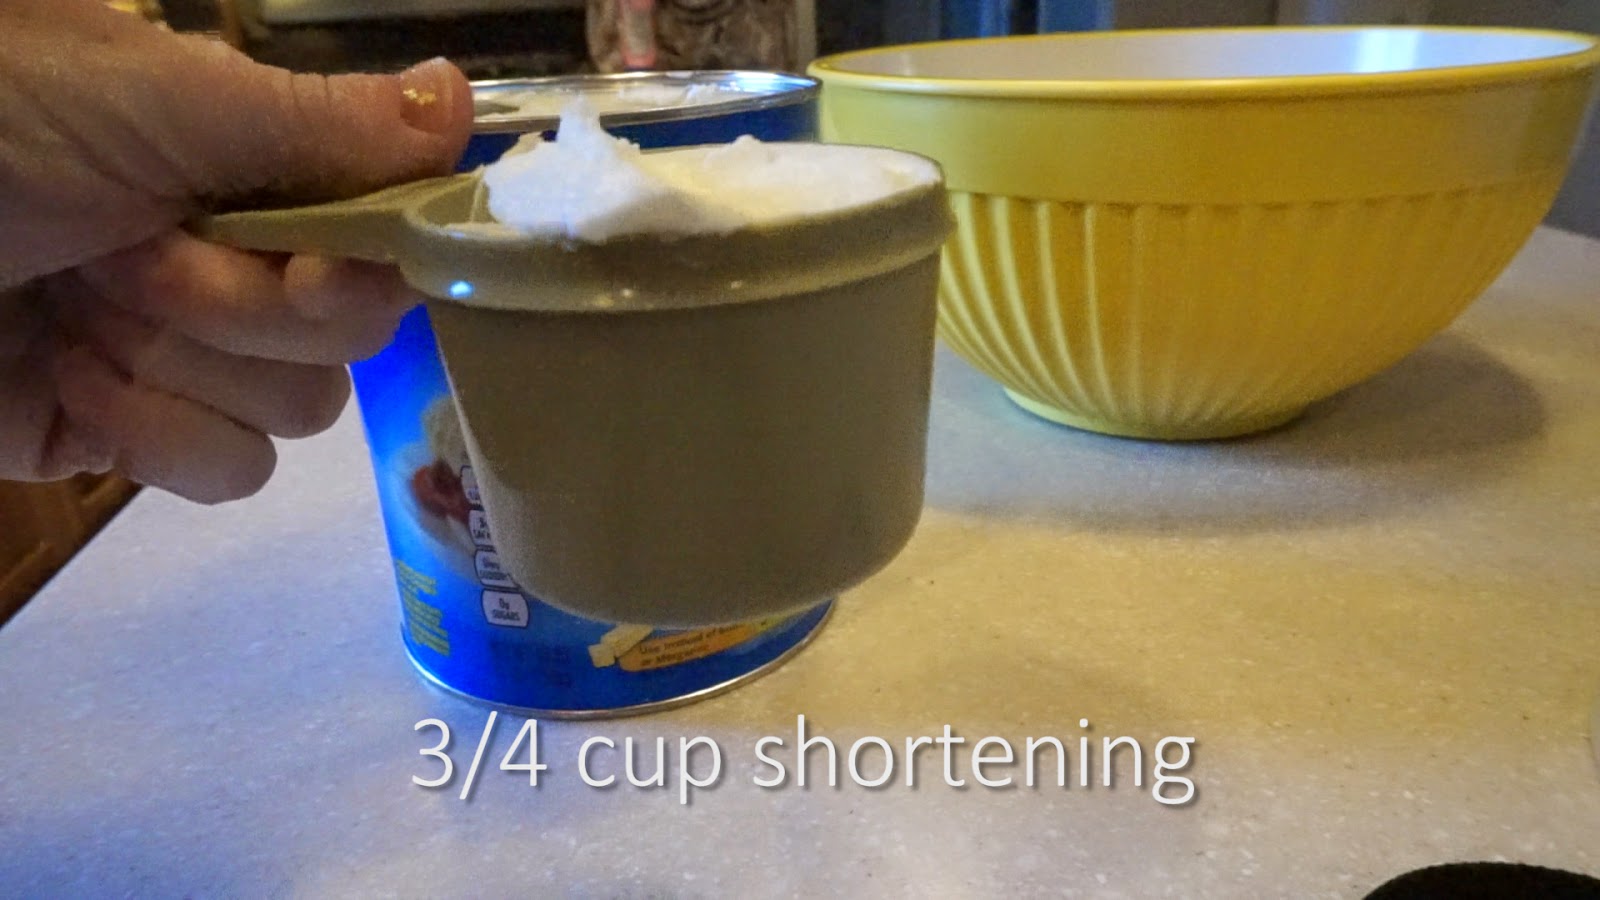
3/4 cup Crisco (butter flavor is preferable)
1 container vanilla frosting
*This recipe makes about 2 dozen cookies. Double the recipe for 4 dozen.

In a large mixing bowl mix together cake mix, eggs, and shortening. Roll dough into 1 inch balls. Bake at 350 degrees for 7-10 minutes. Let cool. Frost bottom side of one cookie and place another cookie on top (also bottom side down) to make a sandwich. Enjoy!
 
Video instructions:

Step by step instructions:


And that's all there is to it! Enjoy!


Thursday, March 19, 2015

Orange Julius


It's warming up around here so it's time to start making Orange Julius again! Who am I kidding? We make it all year round, even when it's freezing, 'cause it's one of our favorite treats. This is my favorite recipe. Add 1 cup cold water to this if you like yours a little runnier. I like mine nice and thick! Enjoy!

Monday, March 9, 2015

Half Bath Remodel


The bathroom on the main floor of our house is just off the kitchen. It was a tiny half bath when we bought the house--no good. We knew it needed some help so we tackled the project recently and here's how it turned out.
This is what it looked like before we started remodeling. It was just big enough for a toilet and a small vanity. Since it would be the bathroom our guests would be using I wanted to turn it into something more comfortable and inviting.
We decided to move the wall out about 9 inches which doesn't sound like much but it made a huge difference in this small bathroom! Once we moved the wall the toilet was no longer centered in the room so we had our plumber friend, Chad Baxter, fix it for us.
We picked out a small, light colored tile for the floor that's off-white with gray streaks in it.
After the wall was widened I was able to pick out a regular size 30" vanity to go in the little cove there. I picked out this one from Martha Stewart at Home Depot:

We painted the walls a flat white to get it prepped for wallpaper. My mom thought I was crazy for choosing to put up wallpaper since her whole house was covered in wallpaper from the '80s and we just finished taking hers down. But modern wallpaper now is SO pretty and I found exactly what I wanted at Houzz.com and bought it at Home Depot.com. It's called Sea Breeze Large Floral Trail Wallpaper by the Wallpaper Company. 
Luckily my mom is an expert at hanging wallpaper and she showed me what to do. I wouldn't recommend trying to hang wallpaper by yourself. It's definitely a 2 (or 3) person job!
 Here's what it looks like going on the wall. I love it!

 My mom, me, and our little helper.
After the wallpaper was up it was time to start on the wainscoting. We cut the bead board to size out in our garage and then I painted it once it was hung on the wall.


This is how it turned out:


 I picked out this light from Home Depot and my husband put it in for me.

Here's how the vanity looks. I took off the boring silver knobs and added these decorative ones I bought from Hobby Lobby. It was a little change but made a big difference!
 
I found the perfect mirror at Hobby Lobby! I just waited for it to go on sale and eventually got it for half off.
 
The last thing we had to do was add the faucet (from Home Depot), the hand towel ring, and the toilet paper holder. Then the bathroom was complete!
 Here's the finished product:
 
I took a short video to try and show the whole bathroom since it's hard to do with still pictures.
 
This project was probably my favorite to do in our house. I love cute bathrooms! Now when I have guests come over I'm not embarrassed when they have to use our bathroom.  

Thursday, February 5, 2015

M.I.A.

In case you're wondering where I've been for the past couple weeks, I had a new baby boy on Jan. 26th and I've been busy taking care of him. Hopefully soon I'll be back to cooking and baking again so I can share more recipes with you!


There's nothing like a newborn!!